Maker creating a plaque
You have a monochrome emblem or name graphic and want a raised sign for a desk, wall, or workshop.
A clean relief with a flat back can be scaled, sliced, and printed with fewer modeling steps.
png to stl for 3d printerPractical tutorial
How to convert png to stl is easiest when you treat the image as height information, not as a photograph that will become a detailed solid automatically. Follow this workflow to prepare the image, create the mesh, inspect the result, and export a cleaner file.
Related tools
The best workflow depends on whether your source is a PNG, another photo format, or a finished printing project.
Set expectations
A conversion tool can build geometry from image brightness, but it cannot infer every physical detail that was never present in the source.
A single PNG describes a front-facing pattern or height map. It does not contain reliable information about the back, interior, or unseen edges of an object.
WorkaroundUse a simple relief with a flat base, or provide multiple views in a separate 3D modeling workflow.
Shadows, reflections, skin tones, and background clutter may become unwanted height changes instead of realistic surface detail.
WorkaroundCrop tightly, remove the background, and convert the image to clean grayscale before uploading.
A mesh may contain thin walls, floating islands, steep overhangs, open edges, or details too small for the selected printer nozzle.
WorkaroundInspect the STL in a slicer and repair, thicken, or simplify the model before printing.
Pixels describe relative detail, not a final physical size. A visually correct model can still be too shallow, too large, or too small for its intended use.
WorkaroundSet the dimensions and relief height deliberately, then confirm the measurements in the slicer.
Core workflow
Work from the image outward: prepare the source first, build the relief second, then validate the exported mesh before sending it anywhere else.
Use a high-contrast PNG with the subject separated from its background. For raised artwork, white or light areas can represent higher regions while dark areas represent lower regions; invert the image if that matches your intended result. Remove transparent padding and stray marks that could create unwanted geometry.
Upload the image and choose a relief or height-map style conversion. Set the overall width and height, then choose a modest thickness or relief height. A flat backing surface is usually easier to print and inspect than a floating surface with no base.
Create the STL, rotate it, and check the silhouette from the side as well as the front. Look for spikes caused by isolated pixels, stair-stepping around curves, missing background areas, and details that disappear when the model is viewed at its intended size.
Open the STL in your slicer and confirm orientation, dimensions, manifold status, supports, and estimated layers. Preview the first layers and the top surfaces rather than trusting the model thumbnail alone.
Keep the checked STL as a separate final copy. If you change the image, depth, scale, or smoothing settings, generate a new version and repeat the visual and slicer checks instead of assuming the earlier validation still applies.
Workflow choice
Both routes can produce an STL, but they suit different starting materials and levels of control.
Image-to-mesh workflow
Manual 3D modeling workflow
Image-to-mesh workflow
High-contrast PNG, logo, icon, drawing, or depth-style artwork
Manual 3D modeling workflow
Reference images, sketches, multiple views, or an existing mesh
Image-to-mesh workflow
Front-facing relief or height-driven surface
Manual 3D modeling workflow
Fully modeled volume with individually controlled surfaces
Image-to-mesh workflow
Short when the source is already clean and well separated
Manual 3D modeling workflow
Longer because the object must be built or traced in 3D
Image-to-mesh workflow
Limited; the image does not define unseen geometry
Manual 3D modeling workflow
High; the back, interior, and side walls can be designed directly
Image-to-mesh workflow
Contrast, inversion, smoothing, relief height, and overall scale
Manual 3D modeling workflow
Topology, wall thickness, bevels, supports, and exact dimensions
Image-to-mesh workflow
A fast decorative plaque, emblem, sign, stamp, or shallow terrain-like model
Manual 3D modeling workflow
A complete object intended for functional fit or complex fabrication
Image-to-mesh workflow
When the image itself is the important design and a relief is acceptable
Manual 3D modeling workflow
When mechanical accuracy, volume, or multi-sided realism is essential
Visual check
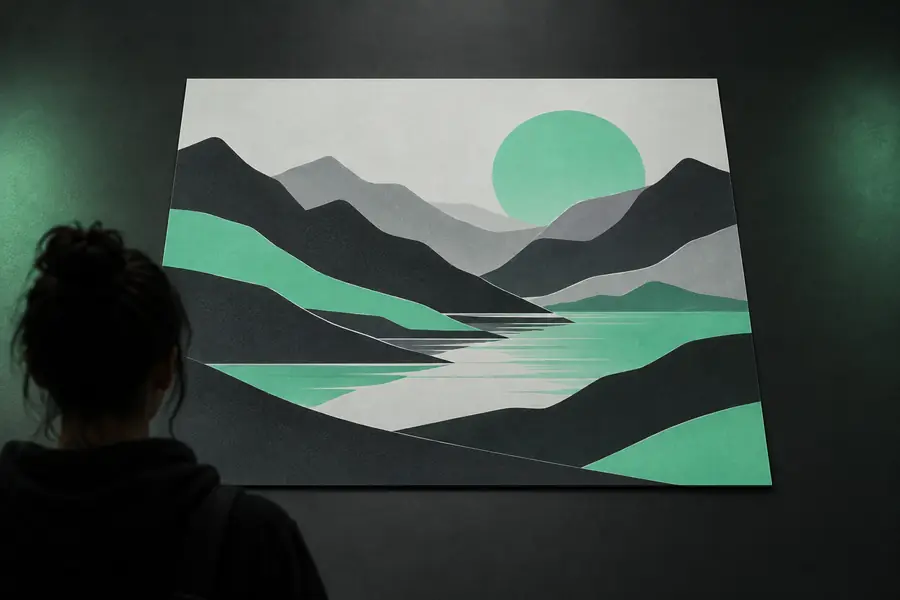
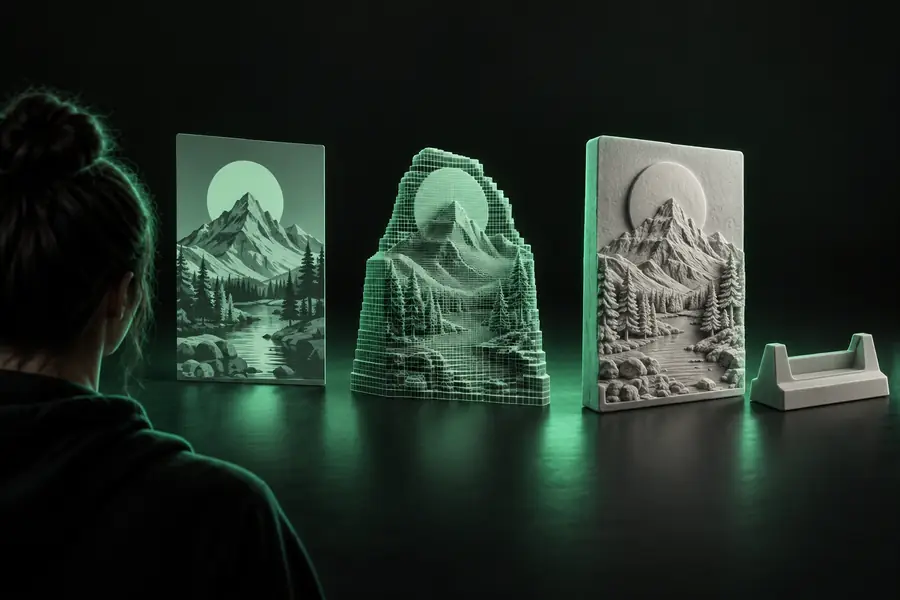
A useful conversion preserves the important silhouette and contrast while turning flat tones into a continuous, inspectable surface.
The image supplies the pattern; depth settings supply the physical form. Check both the front view and the side profile before printing.
Conversion basics
These dimensions explain why an image conversion creates a relief-style model rather than a complete photographic replica.
Practical uses
Image-based STL conversion is most useful when a recognizable flat design matters more than complex all-around modeling.
You have a monochrome emblem or name graphic and want a raised sign for a desk, wall, or workshop.
A clean relief with a flat back can be scaled, sliced, and printed with fewer modeling steps.
png to stl for 3d printerYou need a quick physical proof of an icon, wordmark, or badge before committing to a detailed CAD model.
The converted mesh gives you a tangible proportion and depth reference for early review.
png to stl onlineYou want to explore a portrait or meaningful image as a shallow decorative object rather than a realistic sculpt.
A prepared, high-contrast source can become a stylized relief with controlled height changes.
photo to stlYour artwork is saved as a JPG and you need to clean it before treating it as a height-driven design.
The matching input workflow helps you account for compression artifacts and tonal noise.
jpg to stlReady to test it
Upload a clean image, describe the relief or model you want, and use the generated STL as a practical first version. Inspect its profile and slicer preview before treating it as production-ready.
Convert my imageTutorial FAQ
These answers cover the basic online workflow and the checks that matter after conversion.
Prepare a clean, high-contrast PNG, upload it to an image-to-mesh tool, and choose the intended relief or height-map behavior. Set the model dimensions and depth, generate the STL, then inspect it in a slicer before printing.
Yes, an online converter can handle the image-to-mesh step in a browser. You should still use a slicer or mesh viewer afterward to check scale, orientation, open surfaces, thin features, and the first layers.
Simple artwork with a clear subject, strong contrast, and little background noise usually converts more predictably than a busy photograph. Remove stray marks, crop unnecessary space, and use grayscale or black-and-white values that match the height pattern you want.
Usually, a single PNG produces a relief or height-driven surface rather than a fully modeled object with accurate hidden sides. Add a flat base and sufficient thickness for a practical print, or use manual modeling when the object needs complete volume and functional dimensions.
Isolated pixels, compression noise, abrupt tonal changes, and excessive depth can create spikes or stair-stepped borders. Clean the image, reduce the relief height, apply restrained smoothing, and regenerate the mesh before checking it again in the slicer.