Product designers
You have a clean front or side photo and need a quick physical mockup.
A surface model can reveal proportions and edge treatment before a full CAD build.
jpg to stlImage conversion
Photo to stl turns a single image into a surface-based 3D model you can inspect, refine, and prepare for printing. Start with a clear subject and use the prompt console to hand off your conversion request.
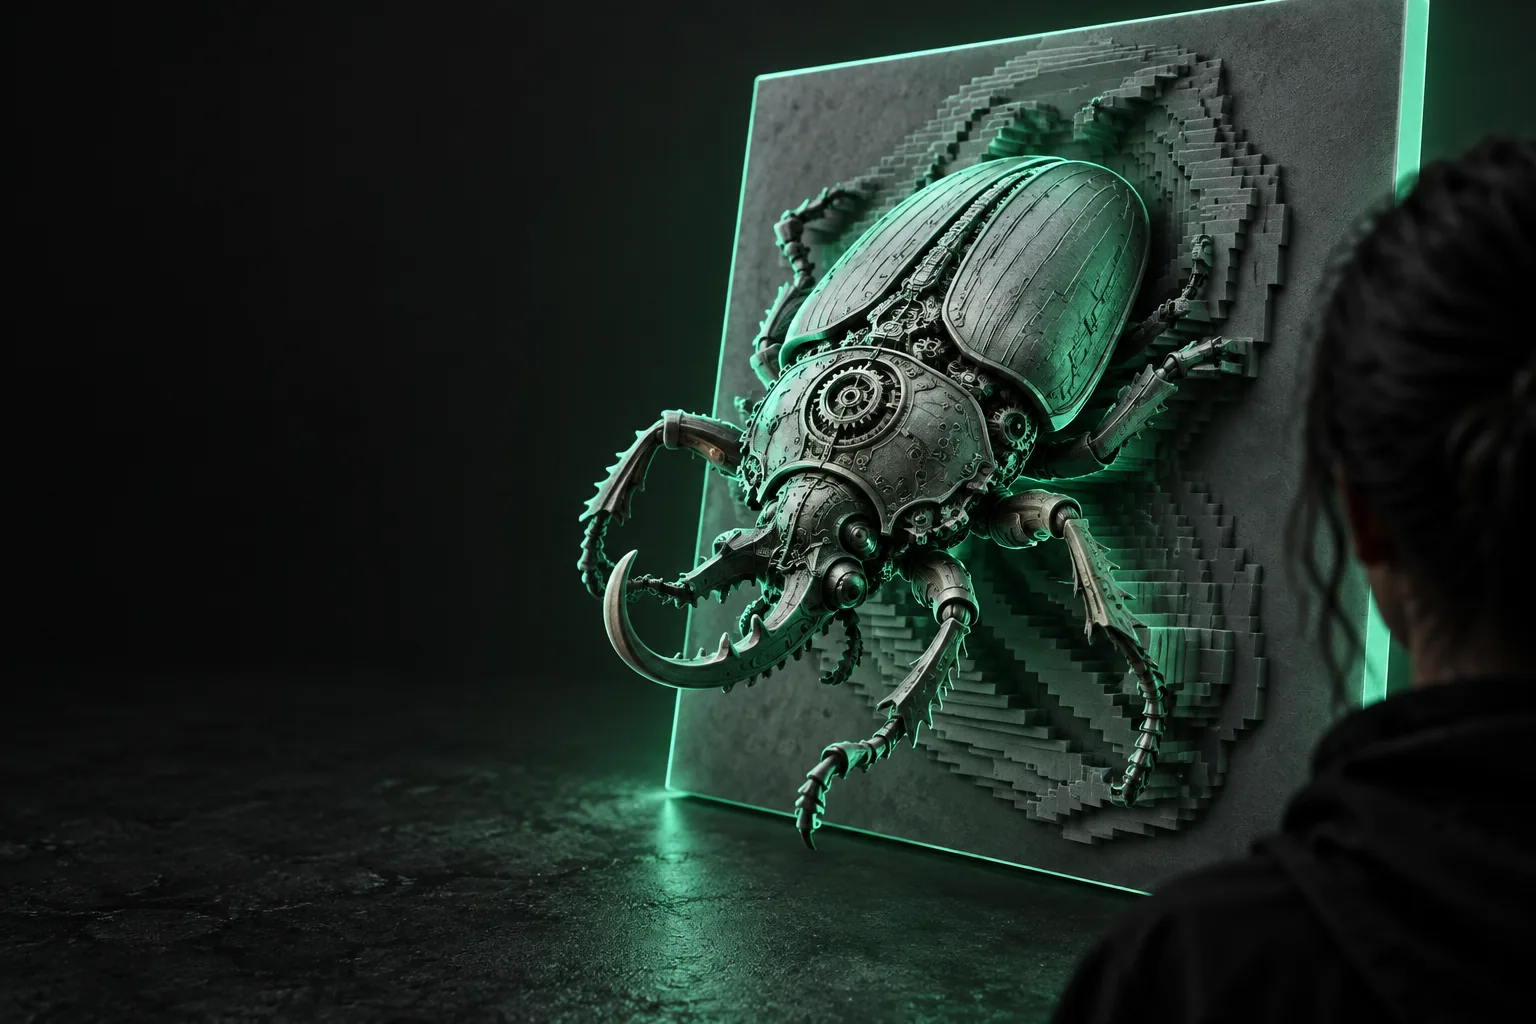
A photo works best when the goal is a recognizable relief, silhouette, or simple object study rather than a complete scan of every hidden side.
You have a clean front or side photo and need a quick physical mockup.
A surface model can reveal proportions and edge treatment before a full CAD build.
jpg to stlYou want to turn artwork, a logo, or a portrait into a raised object.
The image becomes a practical starting point for a plaque, sign, stamp, or relief.
png to stl onlineYou are testing whether a familiar image can become a printable form.
A focused conversion gives you a model to inspect in a slicer before committing to a print.
png to stl for 3d printerYou need a visual example of how 2D information can drive 3D geometry.
The resulting STL makes depth, surfaces, and print preparation easier to explain.
jpg to stlKeep the source simple, describe the intended form, and inspect the mesh before treating it as a final design.
Use one subject, strong contrast, and a clear outline. Remove distracting backgrounds when the object boundary matters.
State whether you want a relief, raised plaque, silhouette, or solid-looking form, along with any flat-back or edge requirements.
Open the model in a mesh viewer or slicer, check the visible face and base, then adjust the source or instructions if the shape is unclear.
The result is an interpretation of the visible image, not a hidden-side scan. A strong reference produces a cleaner transition from recognizable artwork to usable geometry.
The visible image drives the front-facing form; hidden geometry must be checked separately.
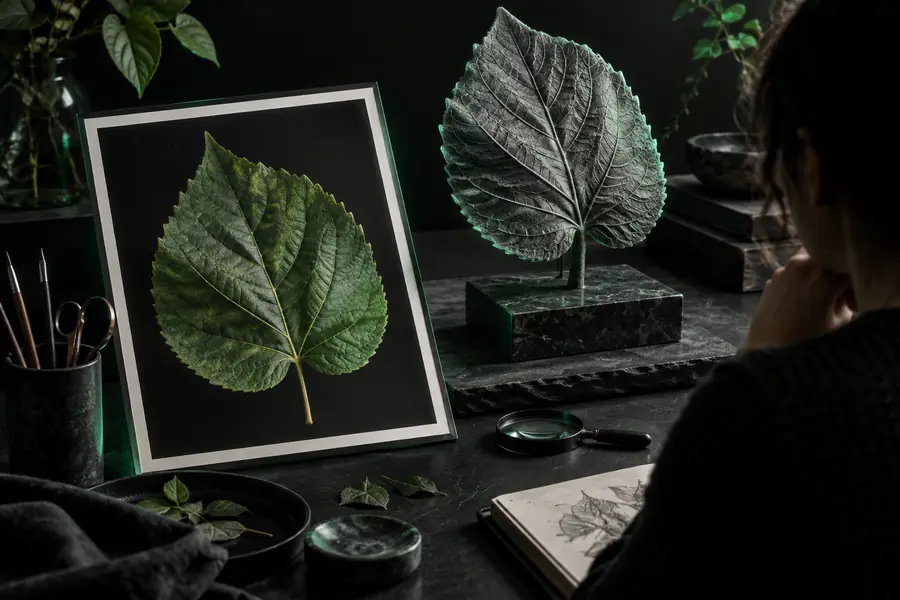
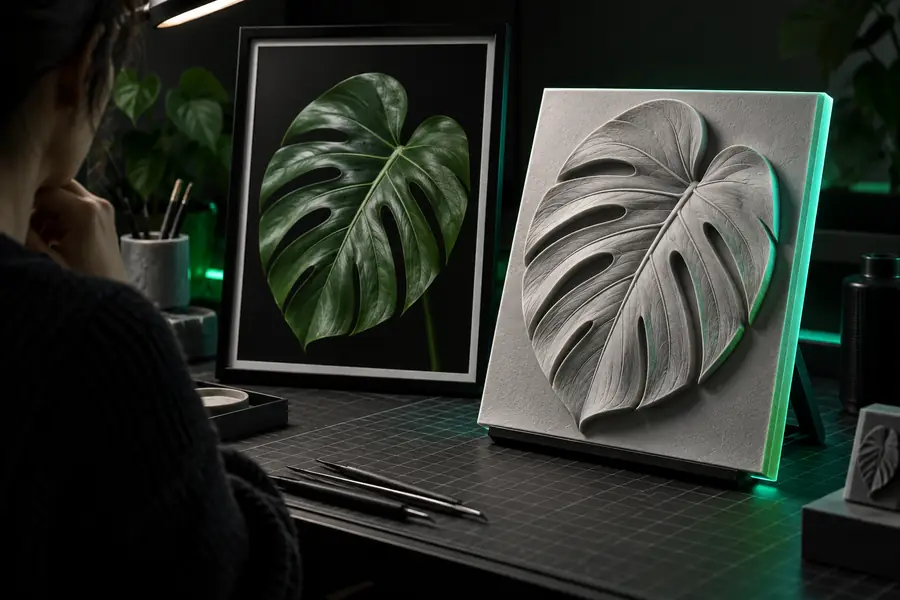
Knowing the boundaries of image-based conversion prevents disappointing prints and helps you choose a better source when needed.
One photo cannot reveal the back, underside, or side details that are outside the frame.
WorkaroundUse multiple references or rebuild missing areas in a dedicated 3D or CAD tool.
Shadows, highlights, reflections, and textured backgrounds can be mistaken for real depth.
WorkaroundUse even lighting, a plain background, and a clearly described intended shape.
Fine hair, narrow gaps, soft edges, and low-contrast marks may not become durable mesh features.
WorkaroundIncrease contrast and simplify delicate details before conversion or after importing the STL.
The output may still contain thin walls, open surfaces, awkward orientation, or unsupported overhangs.
WorkaroundRun a mesh check and slicing preview before sending the file to a printer.
These formats serve different jobs: one communicates appearance, while the other stores geometric surfaces for downstream inspection and fabrication.
Source photo
STL model
Source photo
Visual reference for appearance and outline
STL model
Mesh geometry for 3D viewing and slicing
Source photo
No native physical depth
STL model
Stores surface position in three dimensions
Source photo
Only what the camera can see
STL model
Must be inferred or manually completed
Source photo
Can contain natural color, shading, and texture
STL model
Usually focuses on geometry rather than image color
Source photo
Edited in an image editor
STL model
Checked in a mesh editor or slicer
Source photo
Cannot be sliced as a 3D object by itself
STL model
Can be inspected for walls, holes, and orientation
Source photo
Clear subject with contrast and minimal clutter
STL model
Closed, coherent geometry with an intentional base
Start with a photo that has one clear subject and a simple background. Describe the depth and finish you want, then use the resulting STL as a model to verify rather than assuming every hidden detail is complete.
Convert my photoMost photos can provide a starting reference, but they do not all produce useful geometry. Clear subjects, strong contrast, and limited background clutter usually give the conversion more reliable visual information.
Not reliably. A single image shows only the visible view, so the back, underside, and hidden sides must be inferred or completed separately.
It may need inspection before printing. Check for open surfaces, thin areas, missing bases, unexpected bumps, and unsupported overhangs in a mesh viewer or slicer.
Choose a sharp image with even lighting, a plain background, and a clearly separated subject. For reliefs and plaques, a front-facing image with strong outlines is usually easier to interpret than a busy angled photograph.