Relief designer
Starts with a logo, emblem, map, or line drawing where contrast can define raised and recessed areas.
Gets a tactile surface concept that can be refined for signage, plaques, stamps, or decorative panels.
png to stl online3D file basics
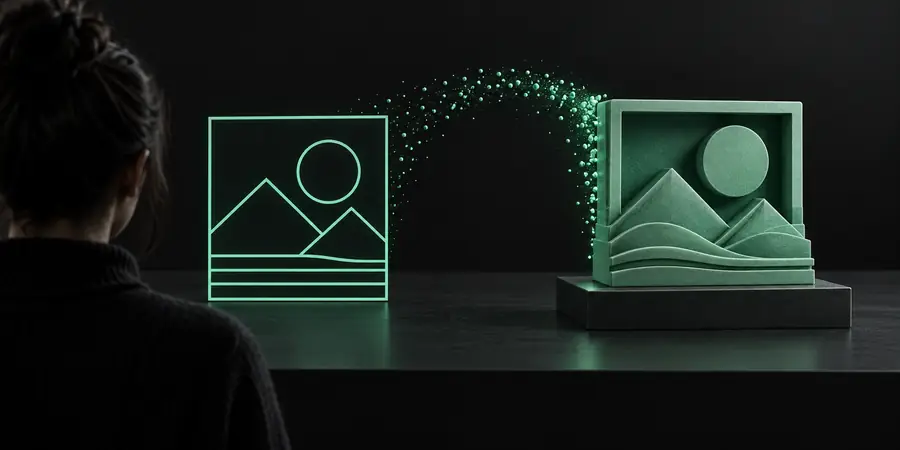
What is png to stl? It is a way to use the brightness information in a flat PNG image to build a three-dimensional surface that can be saved as an STL mesh.
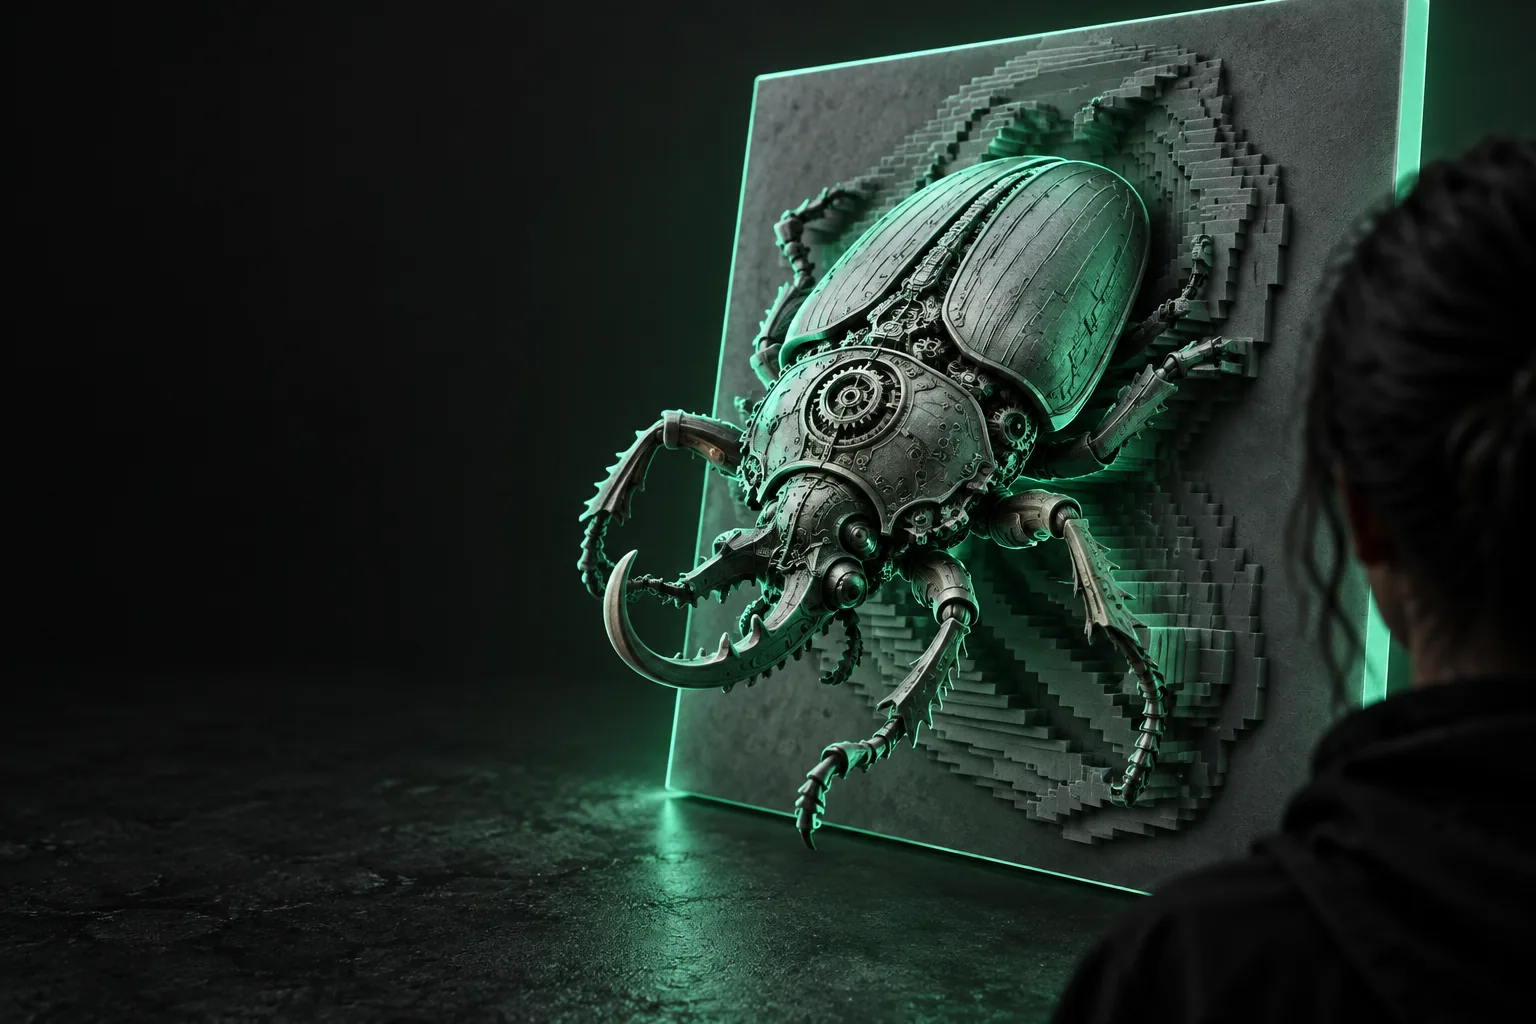
PNG to STL is an image-to-mesh conversion method. Dark and light areas in the source image are interpreted as height values, producing a raised, recessed, or textured surface rather than a full photographed object.
The process is best understood as a translation from pixels to geometry. It does not discover every hidden side of an object; it turns visible image information into a usable surface.
Starts with a logo, emblem, map, or line drawing where contrast can define raised and recessed areas.
Gets a tactile surface concept that can be refined for signage, plaques, stamps, or decorative panels.
png to stl onlineUses a high-contrast PNG as a quick source for a small badge, ornament, or embossed panel.
Moves from a familiar image file to a mesh that can be checked in a 3D viewer before fabrication.
png to stl for 3d printerTests a graphic texture or surface idea before committing to a more detailed CAD model.
Creates an early physical or rendered study of how the pattern may read with depth and lighting.
png to stl alternativeHas an image but no experience with polygon modeling or sculpting software.
Learns the basic relationship between image contrast, surface height, mesh resolution, and printable geometry.
png to stl freeUse a clean PNG with clear contrast and crop away unnecessary borders. The important visual information should be easy to distinguish from the background.
The converter reads tonal differences as relative elevation. Depending on the image, bright areas may become raised while darker areas remain lower or form recesses.
Open the result in a 3D viewer or fabrication workflow, then check scale, wall thickness, base support, and unwanted spikes before making a final object.
The output follows the information visible in the source; it is not a complete scan of the object.

PNG image
STL mesh
PNG image
Stores a flat raster picture
STL mesh
Describes a three-dimensional surface
PNG image
Pixel color or brightness values
STL mesh
Vertex, edge, and triangle coordinates
PNG image
No physical depth by itself
STL mesh
Has relative surface height
PNG image
Graphics, logos, illustrations, and textures
STL mesh
3D viewing, modeling, slicing, and fabrication
PNG image
Image editor or drawing application
STL mesh
Mesh editor or 3D modeling application
PNG image
Not represented
STL mesh
Not created unless separately modeled
PNG image
Clear contrast and suitable resolution
STL mesh
Clean, closed, and appropriately scaled geometry
PNG image
Visual reference or height information
STL mesh
Relief-style mesh rather than an automatic full object
PNG to STL is useful when the goal is a quick surface interpretation, not when a single image must become a perfect production model. Knowing the boundary helps set the right expectation.
A front-facing PNG does not contain reliable information about the back, sides, or unseen depth of an object.
WorkaroundUse the result as a relief or starting point, then model missing sides in a dedicated 3D application.
Thin areas, floating regions, open edges, excessive detail, or poor scale can make an STL unsuitable for fabrication.
WorkaroundRepair the mesh, add a stable base, choose a practical scale, and validate it in a slicer or mesh checker.
A converter generally reacts to contrast and image structure; it does not automatically know which marks are decoration, holes, or separate parts.
WorkaroundSimplify the artwork, separate elements, and test several source images or threshold levels.
A photograph contains lighting, shadows, perspective, and occlusion that do not directly equal physical height.
WorkaroundTreat a photo as a stylized relief source or use photogrammetry, scanning, or manual modeling for accurate form.
Now that you know what is png to stl, you can judge whether your artwork is suited to a relief mesh. Start with a clear image, inspect the generated surface, and refine the geometry before fabrication.
Convert an imageThese answers cover the basic questions people ask when looking for an online explanation of the format conversion.
PNG to STL is used to turn image information into a three-dimensional surface mesh. Common examples include reliefs, embossed graphics, decorative panels, simple terrain studies, and texture experiments.
The PNG contributes its pixel pattern, contrast, and brightness values. A conversion process interprets those values as relative height, while the STL stores the resulting surface as triangular geometry.
No. A single image usually supports a front-facing relief or height-map style result. It does not reliably provide the hidden sides, accurate volume, or full depth needed for a complete 3D reconstruction.
Sometimes, but conversion alone does not guarantee a printable model. Check that the mesh has a stable base, suitable thickness, connected surfaces, sensible scale, and no holes or self-intersections before slicing.
High-contrast artwork with clean edges and a simple background is usually easier to interpret. Logos, icons, line art, and bold silhouettes often produce more predictable reliefs than complex photographs with soft shadows.
Yes. You can inspect and modify the mesh in compatible 3D or mesh-editing software. Typical edits include smoothing, scaling, adding a base, repairing open edges, reducing excessive detail, and preparing the model for a specific manufacturing process.