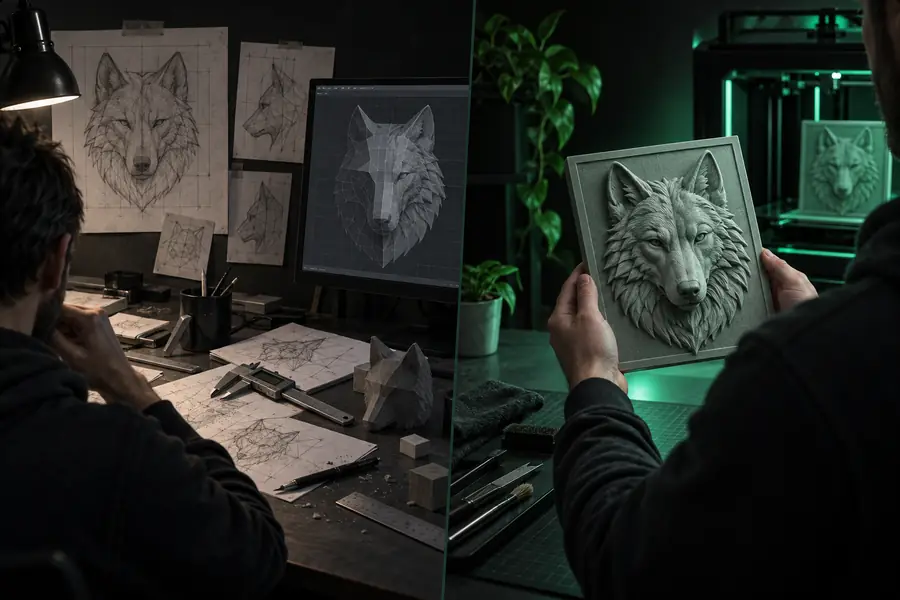
A png to stl alternative is useful when a one-click conversion leaves you with the wrong depth, rough edges, or a mesh that needs too much repair. Compare the trade-offs first, then choose the shortest path from image to usable 3D model.
Different starting files and goals call for different routes. These related pages help you move from a quick test to a more specific workflow.
Honest limitations
Where each alternative falls short
No conversion route can recover information that is missing from a flat image. The best alternative depends on whether you value speed, control, surface quality, or a ready-to-print result.
A flat image has no true height data
PNG pixels describe color and contrast, not the physical depth of an object. A converter must interpret brightness, outlines, or transparency as elevation, so the result is usually a relief or height map rather than a faithful solid replica.
WorkaroundUse a high-contrast source and decide which visual property should control height before converting.
Transparent areas may not become useful geometry
An alpha channel can separate a subject from its background, but it does not automatically define side walls, thickness, or a watertight base. Thin cutouts can also produce fragile edges.
WorkaroundAdd a solid backing plane and inspect narrow details before exporting the STL.
Small details can disappear in the mesh
Fine text, soft shadows, anti-aliased edges, and JPEG-like artifacts can create uneven triangles or details too shallow for practical printing. More resolution does not always fix a poor source image.
WorkaroundSimplify the artwork, increase contrast, and remove texture that should not become height variation.
An STL is not a complete manufacturing setup
The file stores a surface mesh, but it does not choose printer settings, supports, orientation, wall strategy, or material. A model can be geometrically valid and still need preparation in a slicer.
WorkaroundOpen the exported mesh in your slicer, check scale and manifold status, then preview the first layers before printing.
Decision flow
Compare the workflow dimension by dimension
A reliable comparison starts with the source image and ends with the amount of correction you are willing to do. Use these three steps to identify the right alternative before spending time on cleanup.
1
Define what the image should represent
Decide whether the goal is a raised logo, a bas-relief, an embossed sign, or a more sculptural object. A simple silhouette needs a different workflow from a shaded photograph because brightness may be interpreted as depth.
2
Choose control over convenience
Browser conversion is usually the shortest route for a quick test. A desktop modeling or sculpting workflow gives you more control over thickness, bevels, smoothing, scale, and the shape of the base, but it adds more decisions.
3
Validate the mesh for its destination
Inspect the result from the side as well as from above. Confirm that the base is thick enough, edges are not paper-thin, and the exported STL opens correctly in the slicer or modeling tool you plan to use.
Format facts
The format change in three dimensions
The comparison is easier when the input and output are kept distinct. A file-format conversion changes how the image is represented; it does not create source detail that was never present.
1A PNG begins as a flat raster image made from pixels.
2Dinput
2An STL describes a surface mesh that can represent raised or recessed geometry.
3Doutput
3The usual handoff is one exported STL that still needs scale and print checks.
1mesh file
Visual result
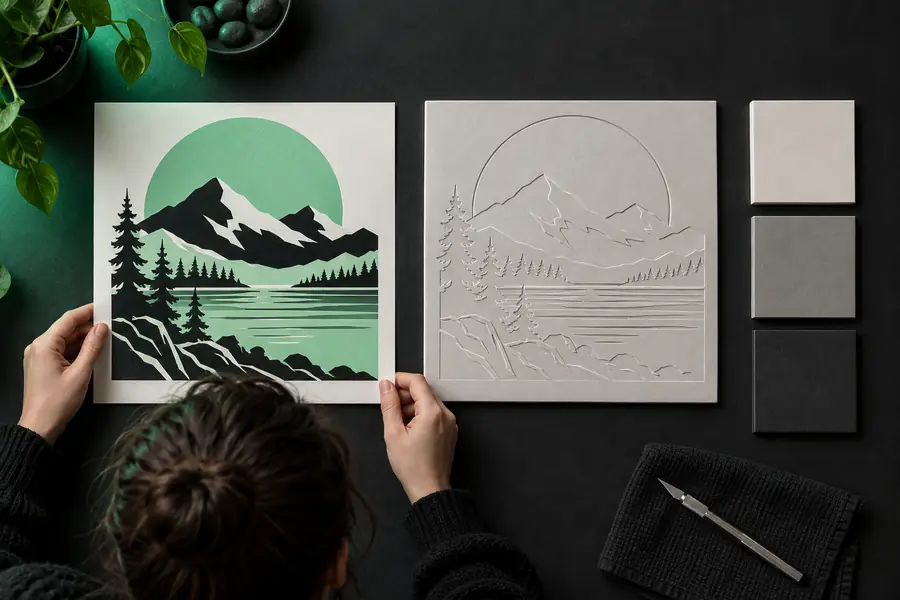
Before and after: from flat artwork to relief mesh
The useful difference is not simply a new file extension. It is the interpretation of contrast and edges as physical surfaces that can be inspected, edited, and prepared for fabrication.
Source PNG
STL relief
A good result preserves the intended silhouette while adding practical thickness and clean edges.
Best fit
Who each alternative suits
There is no universally best converter. Match the route to the person doing the work, the source image, and how much control the final object requires.
The quick prototype maker
You need to turn a clean logo, icon, or silhouette into a simple raised sample for a concept review.
An online PNG workflow keeps the path short and makes it easy to test whether the image produces the expected outline and height.
The artwork was exported as a JPG from a design tool or received from another person, so converting the file directly is more convenient than re-exporting it.
The JPG workflow lets you focus on contrast and image cleanup first, then evaluate whether the resulting mesh has enough definition.
Choose the route that matches your source and your tolerance for cleanup. Start with a clear image, convert it into a relief-style mesh, and use the resulting STL as the handoff for inspection, editing, or slicing. If the first result is too shallow or noisy, improve the artwork before changing tools.
These answers cover the practical decisions people make when comparing ways to turn a flat image into an STL mesh.
The best alternative depends on the result you need. An online converter is suitable for a quick relief or concept test, while a desktop modeling or sculpting workflow is better when you need precise thickness, cleaner topology, or detailed editing.
It can create 3D geometry from image information, but a single PNG usually describes a relief or height-based surface rather than a fully accurate object from every angle. You may need to add a base, side walls, smoothing, or additional modeling before the result is ready for fabrication.
An online route is often better for speed and a first test because it removes installation and setup steps. A desktop alternative is better when you need repeatable settings, detailed mesh edits, precise scale control, or a workflow that includes sculpting and repair.
Roughness usually comes from noisy source pixels, weak contrast, anti-aliased edges, or texture being interpreted as height. A flat result can happen when the image does not contain enough tonal separation, so simplify the artwork and strengthen the difference between the subject and background before converting.
Not always. Open the file in a slicer or mesh editor and check its scale, base thickness, thin edges, and manifold status first. The STL contains geometry, but printer orientation, supports, layer settings, and material choices still need to be configured separately.