Maker
You have a bold JPG graphic and want a raised badge, plaque, or emblem.
The image becomes a starting surface for a tangible prototype. See the broader [photo to stl] workflow for image-led ideas.
photo to stlImage to 3D
Use jpg to stl conversion to turn a suitable image into a model-ready file. Start with a clear JPG, describe the intended shape, and review the STL before using it in a 3D workflow.
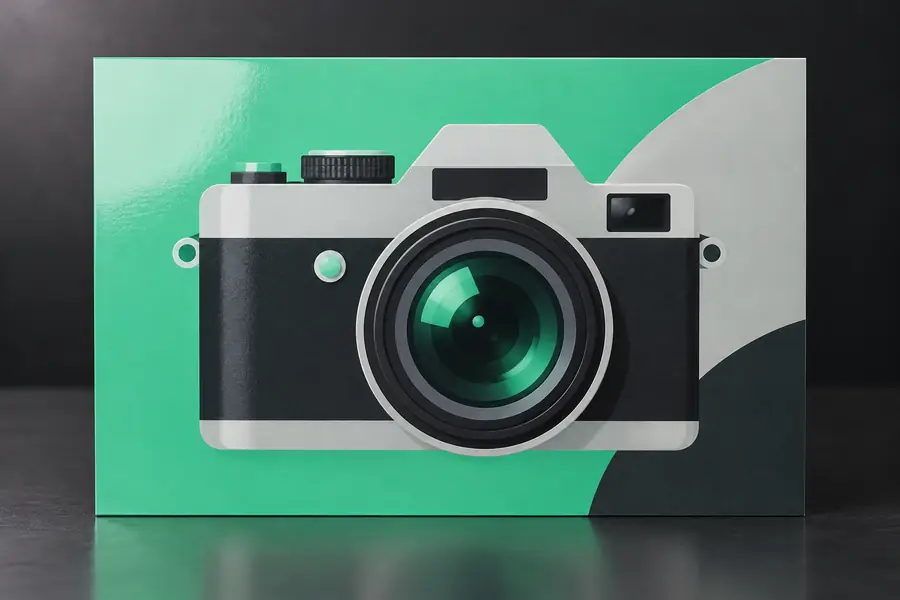
This route is for starting with a JPG image rather than a PNG. It is useful for logos, icons, scanned artwork, and other images where the visible shape matters more than photographic detail.
A JPG carries pixels, while an STL carries surfaces. The conversion is valuable when an image needs to become a physical relief, sign, stamp, emblem, or simple 3D form.
You have a bold JPG graphic and want a raised badge, plaque, or emblem.
The image becomes a starting surface for a tangible prototype. See the broader [photo to stl] workflow for image-led ideas.
photo to stlA client supplies a compressed JPG logo that must become a dimensional concept.
You can establish the silhouette before refining it in a dedicated 3D package. The [png to stl online] route is useful when transparency is available.
png to stl onlineA classroom needs to demonstrate how a flat picture can become a physical object.
A simple icon or letterform makes the change from pixels to geometry easy to explain. A [png to stl free] option can support early experiments.
png to stl freeYou want to test a recognizable image as a shallow relief or decorative face.
A converted model gives you a practical file to inspect and prepare for slicing. The [png to stl for 3d printer] guide adds printer-specific context.
png to stl for 3d printerA useful result depends on both the source image and the shape you request. Keep the prompt specific about depth, edges, backing, and the intended object.
Use a clear, high-contrast image with the main subject centered and unnecessary background detail removed.
State whether you want a relief, plaque, stamp, sign, or another shape, then mention depth and edge treatment.
Inspect the generated surface for missing features, unexpected holes, and proportions before sending it to your next tool.
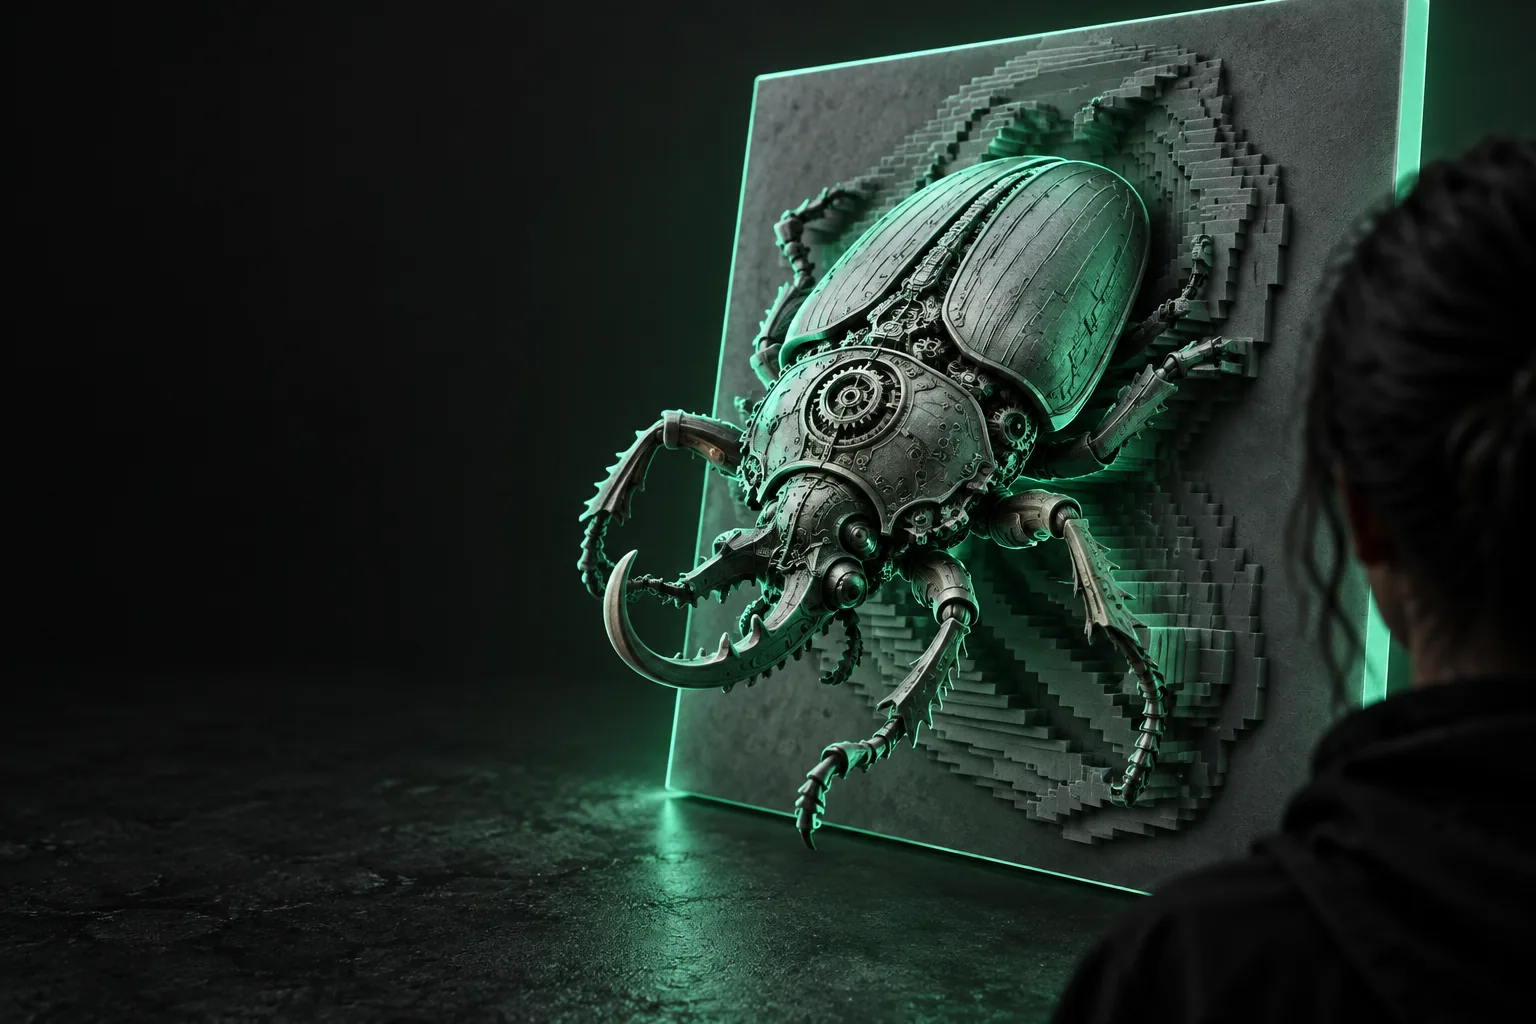
The divider shows the change from flat pixel artwork to a surface-based 3D result.
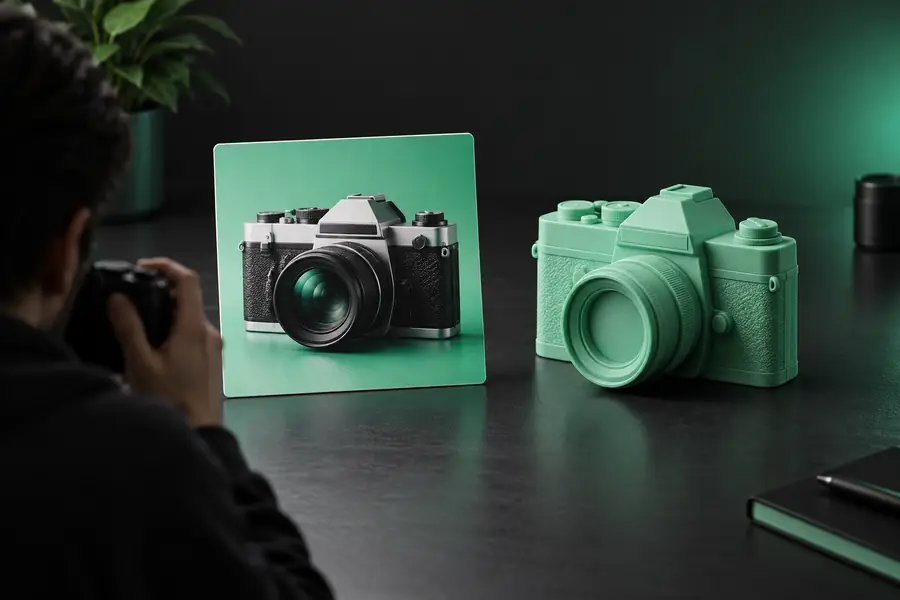
The two files serve different jobs. Understanding the handoff helps you choose a better source image and set realistic expectations for the converted model.
JPG source
STL model
JPG source
Raster image for visual content
STL model
3D mesh for shape and surfaces
JPG source
Width and height in pixels
STL model
Width, depth, and height in model units
JPG source
May contain full-color information
STL model
Usually represents geometry without image color
JPG source
May include an intended background area
STL model
Must be expressed as geometry or omitted
JPG source
Texture, shading, and pixels
STL model
Edges, faces, thickness, and relief
JPG source
Reference, artwork, logo, or photograph
STL model
Model inspection, editing, slicing, or fabrication
JPG source
Image editor or graphic software
STL model
3D editor, mesh repair tool, or slicer
JPG source
Compression and clutter obscure the subject
STL model
Thin, open, or uneven geometry causes problems
A JPG can contain lighting, shadows, and surface texture that do not translate into useful solid geometry.
WorkaroundUse a clearly defined silhouette or request a shallow relief instead of expecting a photorealistic solid.
One flat image gives limited information about the back, underside, and unseen depth of an object.
WorkaroundDescribe the missing form explicitly or simplify the result into a plaque, icon, or front-facing model.
Dark subjects on dark backgrounds, soft edges, and heavy compression make the intended boundary ambiguous.
WorkaroundIncrease contrast, crop tightly, and remove distracting background detail before conversion.
A converted STL may still contain thin walls, small features, holes, or scale choices that need checking.
WorkaroundOpen the model in a mesh viewer or slicer and repair or resize it before fabrication.
Bring a focused image and a specific shape in mind. The conversion gives you an STL starting point that you can inspect, refine, and prepare for the next stage of your project.
Convert my JPGYes. A JPG can be used as the visual source for an STL-style 3D model, especially when it contains a clear logo, icon, silhouette, or front-facing design. The result depends on how clearly the image communicates its intended shape.
High-contrast images with a simple subject, clean edges, and limited background detail usually work best. Logos, bold illustrations, and centered symbols are easier to interpret than blurry photographs or busy scenes.
STL is primarily a geometry format, so the conversion focuses on shape rather than preserving the original image colors. Treat the JPG as a visual reference and expect the output to describe surfaces and volume.
It can provide a useful 3D starting point, but one image does not fully reveal hidden sides or exact depth. For reliable results, describe the back and thickness or choose a deliberately simple relief-like form.
Not automatically. Check the model for closed surfaces, adequate thickness, small features, scale, and other slicer requirements before printing. A mesh viewer or slicer can help identify issues that are not visible in the original JPG.