Logo maker
You have a high-contrast PNG mark and want a raised badge, sign, or emblem.
Remove unnecessary background detail, then use the resulting mesh as a clean relief base.
png to stl freeBrowser conversion
PNG to STL online conversion turns image brightness into surface height, giving you a practical mesh starting point without installing desktop software. Upload a suitable graphic, review the result, and continue refining where needed.
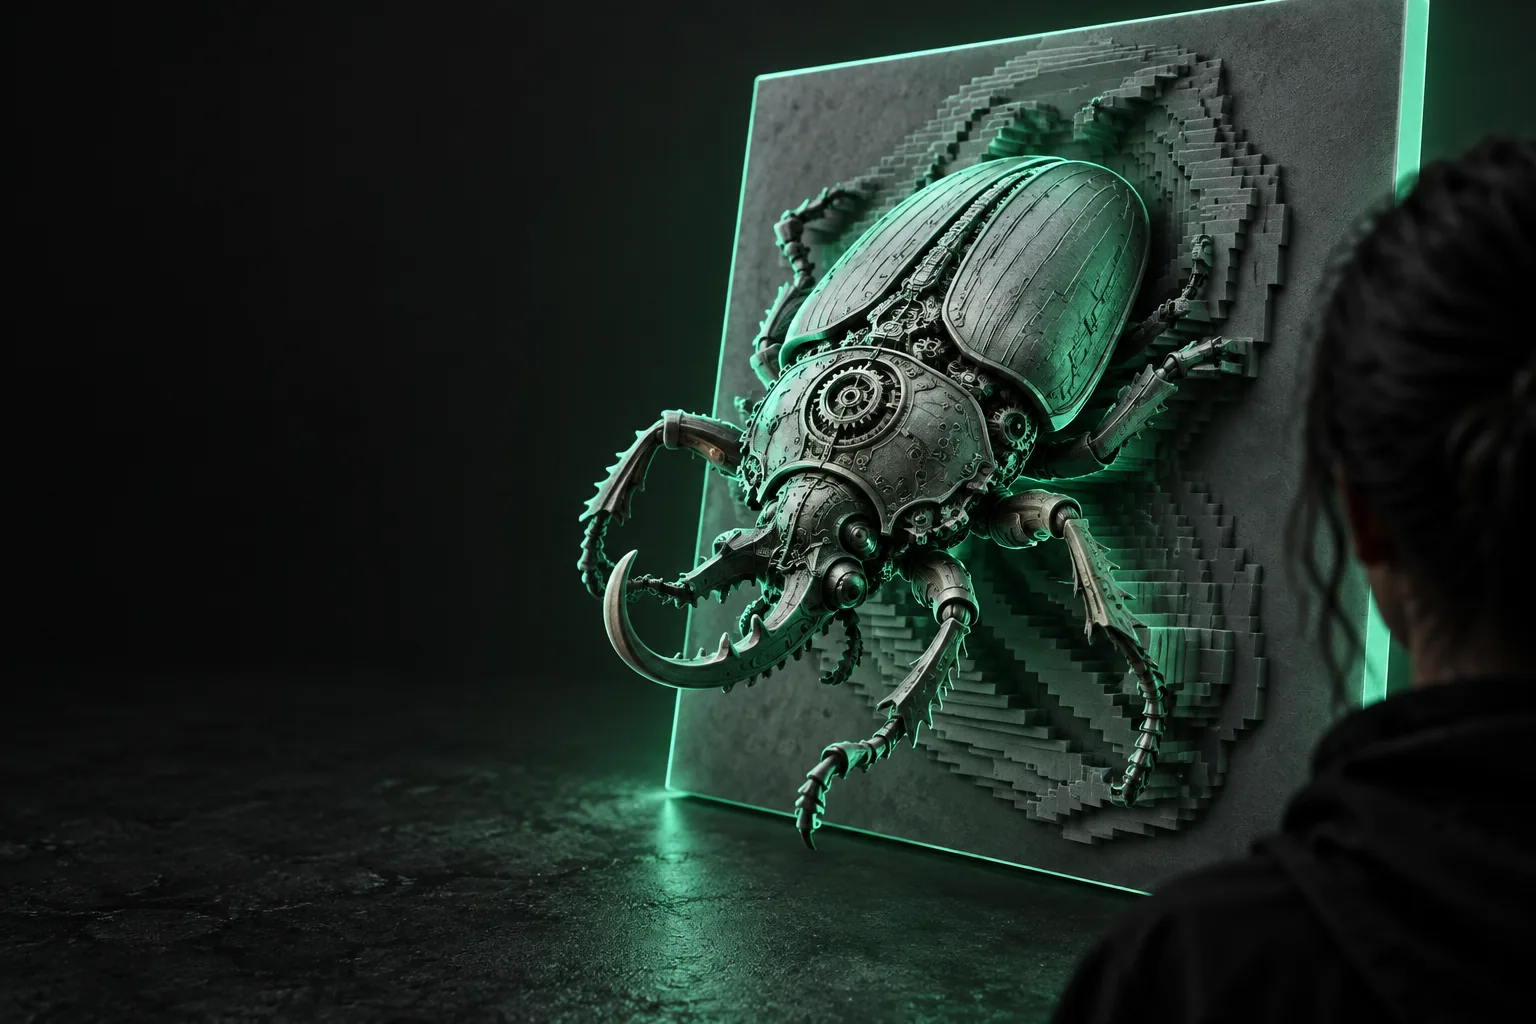
A clean source image makes the online conversion more predictable. Prepare the image and decide what the light and dark areas should mean before you begin.
The same online workflow can support several starting points, from a simple emblem to a grayscale texture. Each use case benefits from a different kind of preparation.
You have a high-contrast PNG mark and want a raised badge, sign, or emblem.
Remove unnecessary background detail, then use the resulting mesh as a clean relief base.
png to stl freeYou want to test an image-based object before learning a full CAD workflow.
Start with a simple silhouette, inspect the thickness, and export a manageable STL for testing.
png to stl for 3d printerYou are converting grayscale artwork into a shallow surface for a model or digital scene.
Use tonal contrast deliberately so the darker and lighter regions produce useful relief rather than noise.
photo to stlYou need a fast browser-based way to compare an image concept with a rough 3D surface.
Run the same source through an online tool, review the mesh, and decide whether further modeling is worthwhile.
png to stl alternativeKeep the first pass simple. The goal is not to solve every modeling problem at once, but to produce a mesh you can inspect and improve.
Crop the artwork, remove accidental borders, and increase contrast between the foreground and background. A bold subject is easier to interpret than a busy photograph.
Send the image through the online workflow and let its brightness information define the surface. Treat the first output as a rough relief or height-based model.
Look for thin edges, disconnected details, unwanted islands, and a usable base. If the silhouette is unclear, simplify the image and run another pass.
A before-and-after view makes the central trade-off clear: the original image carries visual detail, while the STL carries that detail as geometry.
Image detail becomes mesh detail; simplify before converting when the result looks noisy.
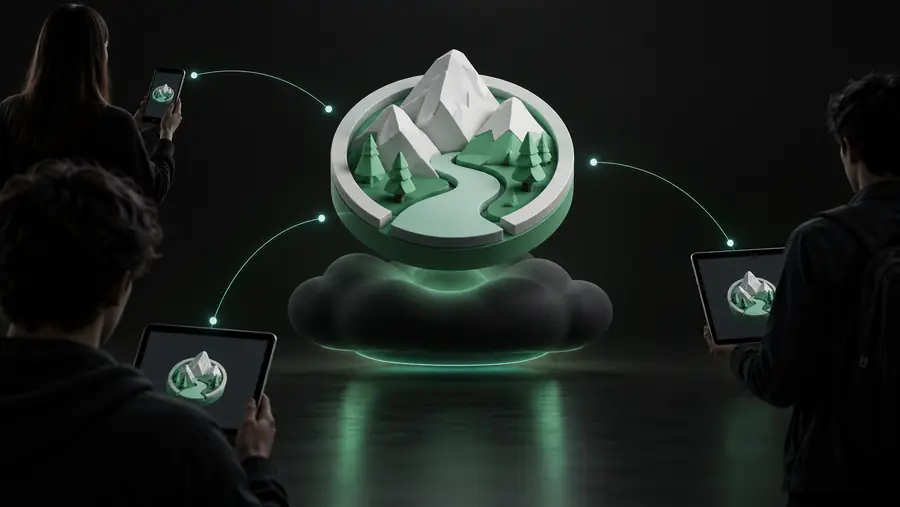
These are the core representations involved in the workflow. They are useful checkpoints when deciding whether your source is ready for conversion.
Choose the approach that matches the job rather than expecting one image treatment to work equally well for every subject.
Simple relief pass
Detailed surface pass
Simple relief pass
Bold logo, icon, or silhouette
Detailed surface pass
Grayscale artwork or tonal texture
Simple relief pass
High contrast with clear separation
Detailed surface pass
Controlled tones with limited noise
Simple relief pass
Light and dark regions form obvious steps
Detailed surface pass
Brightness changes create gradual height variation
Simple relief pass
Crisp outlines are usually easier to preserve
Detailed surface pass
Fine edges may soften or fragment
Simple relief pass
Small, centered subject on a plain background
Detailed surface pass
Cropped detail with distracting regions removed
Simple relief pass
Badges, plaques, signs, and simple emblems
Detailed surface pass
Relief studies, decorative textures, and concept surfaces
Simple relief pass
More predictable geometry
Detailed surface pass
More visual nuance
Simple relief pass
A flat-looking result if depth is too shallow
Detailed surface pass
Noisy or uneven geometry when the source is too complex
An online converter can create a useful starting mesh, but it cannot repair every weakness in the source image or replace final model preparation.
A single PNG mainly describes one visible height pattern, not the complete object behind it.
WorkaroundUse the STL as a relief or front-facing base, then add depth and back geometry in a 3D editor.
If the foreground and background have similar tones, the generated surface may look flat or produce weak boundaries.
WorkaroundIncrease contrast, simplify the artwork, or convert a cleaner source image.
Thin walls, isolated islands, unsuitable scale, and non-manifold areas may still need attention.
WorkaroundInspect the mesh in a model checker and repair or thicken problem areas before fabrication.
Small marks may disappear when image resolution, contrast, or mesh interpretation is insufficient.
WorkaroundEnlarge important features and remove decorative noise before starting another pass.
When your source is prepared with clear contrast and a simple subject, online conversion becomes a useful first step instead of a guessing game. Try one focused image, inspect the STL, and refine the source when the geometry needs improvement.
Convert an imageAnswers to common questions about using an online surface-conversion workflow.
It interprets information in a PNG image and uses it to create a three-dimensional surface saved as an STL-style mesh. The result is usually best understood as a relief or modeling starting point, not a complete object with every side designed.
Yes, an online workflow can handle the initial conversion in a browser. You still may want a separate model viewer or repair tool afterward to inspect scale, thickness, and mesh quality before fabrication.
A clean image with strong contrast, a distinct subject, and limited background detail is usually easier to interpret. Logos, icons, silhouettes, and simplified grayscale artwork tend to produce more predictable surfaces than busy photographs.
Not necessarily. Check for thin regions, disconnected islands, rough edges, scale problems, and a suitable base before sending the model to a slicer or printer.