Makers
You have a logo, icon, or silhouette and want a raised form for a small prototype.
Start with a simple mesh, then adjust thickness or scale in your preferred editor. For a browser-first alternative, use png to stl online.
png to stl onlineFree image conversion
png to stl free conversion gives you a straightforward way to turn a suitable image into a basic 3D mesh without installing specialist software first.
A browser-based route is useful when you need a quick model, a rough visual, or a first pass before refining the geometry elsewhere.
You have a logo, icon, or silhouette and want a raised form for a small prototype.
Start with a simple mesh, then adjust thickness or scale in your preferred editor. For a browser-first alternative, use png to stl online.
png to stl onlineYou need to demonstrate how a 2D reference can become a basic 3D object.
A free conversion makes the process easy to explain and gives you an STL to inspect, edit, or present alongside the original image.
jpg to stlYou want to turn a personal photo or graphic into a simple relief for a project.
Use strong contrast and a clean subject for a more predictable result, or try photo to stl when the source is a photographic image.
photo to stlYou are learning the difference between an image file and a printable model file.
The conversion shows the handoff from pixels to mesh before you prepare the object for a printer, including the checks described in png to stl for 3d printer.
png to stl for 3d printerThe quality of the result depends mostly on the source image and the kind of depth you expect. Keep the first attempt simple, then refine the inputs if needed.
Use a PNG with a distinct subject, strong contrast, and limited visual noise. Logos, icons, line art, and silhouettes usually translate more cleanly than busy scenes.
Describe whether the result should be a relief, raised plaque, cutout, or simple solid. This gives the conversion a practical goal instead of treating every pixel as equal depth.
Open the output in a 3D viewer or slicer, check the base, edges, scale, and orientation, then repeat with a cleaner image or clearer instructions when necessary.
A free route is useful for accessible first passes, but it is not a substitute for careful modeling when accuracy, complex depth, or production tolerances matter.
A single flat image does not contain reliable information about the back, sides, or unseen surfaces of an object.
WorkaroundUse the result as a relief or concept, or provide multiple references and complete the missing geometry in a 3D editor.
Textures, shadows, gradients, and clutter may be interpreted as shape, producing noisy edges or uneven surfaces.
WorkaroundCrop the subject, remove the background, increase contrast, and test a simplified version before converting the final artwork.
An STL can still need repairs, scaling, orientation, wall-thickness checks, or slicing adjustments before fabrication.
WorkaroundInspect the mesh in your slicer, confirm that it is closed and supported, and run a small test print when the design matters.
A quick conversion may expose fewer geometry controls than a full modeling workflow, especially for exact dimensions or engineered parts.
WorkaroundUse the free result for exploration, then refine measurements and surfaces manually when precision is important.
Both approaches can produce a useful STL, but they serve different starting points. Choose the free browser route for speed and accessibility; choose manual modeling when control is the priority.
Free browser conversion
Manual 3D workflow
Free browser conversion
A suitable PNG and a clear shape goal
Manual 3D workflow
Reference drawings, measurements, or an existing 3D concept
Free browser conversion
Runs from a browser with little preparation
Manual 3D workflow
Requires modeling software and a configured workspace
Free browser conversion
Reliefs, plaques, silhouettes, icons, and early concepts
Manual 3D workflow
Mechanical parts, detailed characters, and measured objects
Free browser conversion
Convenient but guided by the source image
Manual 3D workflow
Direct control over surfaces, dimensions, and topology
Free browser conversion
Quick for testing several image variations
Manual 3D workflow
Slower at the start but stronger for deliberate refinement
Free browser conversion
Still requires inspection and slicing checks
Manual 3D workflow
Usually includes more opportunities to validate the model before export
The visual difference is the key idea: a PNG stores pixels, while an STL stores mesh geometry that can be viewed, edited, and prepared for fabrication.
Use the output as a starting model, then inspect scale, edges, and printable surfaces before sending it to a slicer.
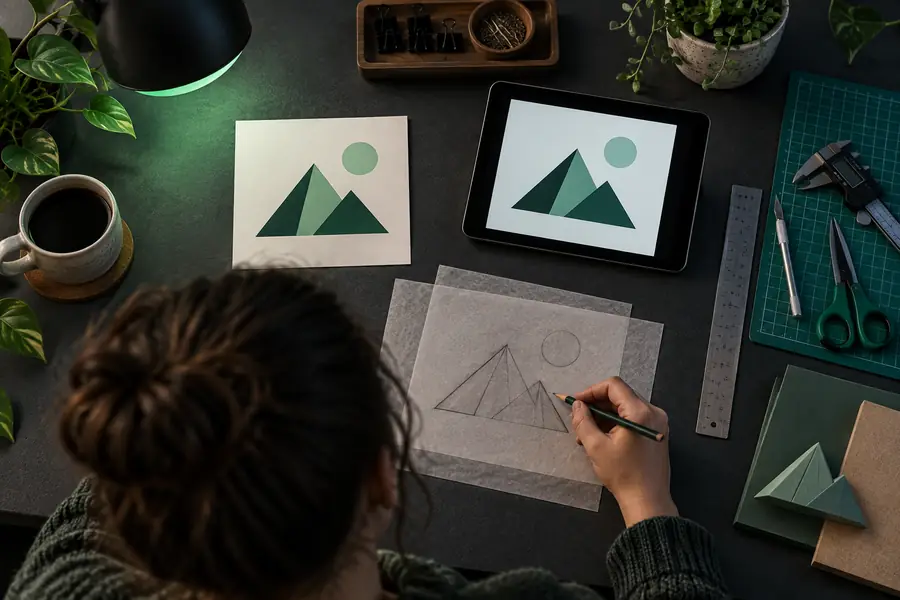
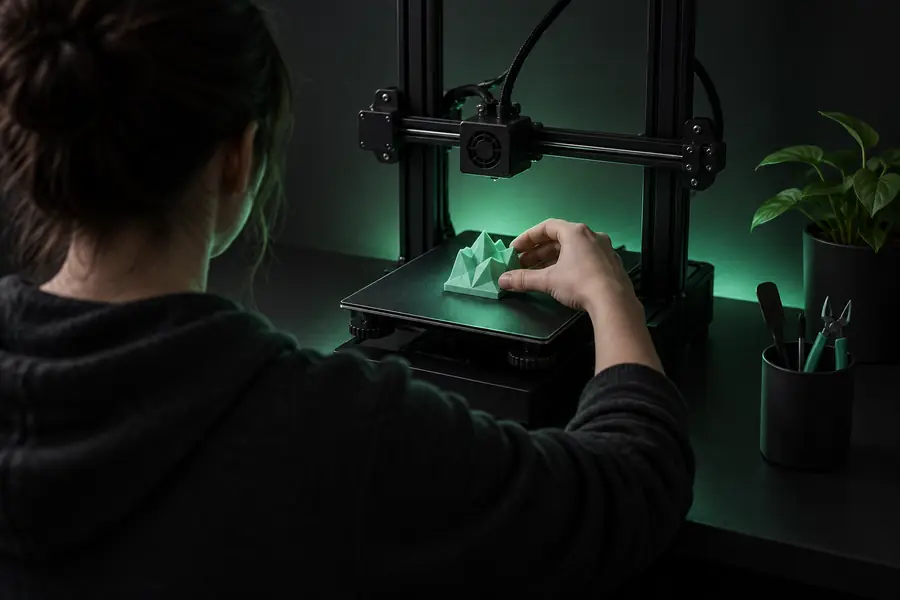
Start with a clean, high-contrast image and a simple goal such as a raised logo, plaque, or silhouette. The free workflow is designed for exploration: create a first mesh, inspect it, and refine the source when the shape needs more definition.
Convert my imageYes, you can begin with a free browser-based conversion workflow that turns a suitable PNG into an STL-style mesh. The result is best treated as a starting point, especially when the image has complex shading or fine detail.
Choose a clear image, describe the intended form, and start the conversion. After the STL is created, open it in a viewer or slicer to check its shape, scale, orientation, and whether it needs repair.
High-contrast logos, silhouettes, icons, and simple line art usually produce the most predictable results. Removing backgrounds and reducing shadows, texture, and visual clutter can improve the mesh.
It may be suitable for a basic print, but conversion alone does not guarantee that the mesh is ready for fabrication. Check that the model has a usable base, sensible thickness, closed surfaces, and an appropriate scale before slicing.
Usually not without further work, because a single image does not provide dependable measurements or hidden-surface geometry. Use the free result for a concept or relief, then remodel critical dimensions in dedicated 3D software.