Png to STL: Turn a Pet Photo Into a Minecraft Block Statue
Learn how png to stl workflows turn a pet photo into a Minecraft block statue, from image choice and 3D modeling to block matching and Litematica setup.
If you came for png to stl, this guide shows how a pet image becomes a Minecraft-ready block statue, including the photo, 3D model, palette, and Litematica steps.
The hard part of making a pet statue is preserving the features that make it look like your pet after the shape becomes blocks. I’ll start with a clear photo, make a 3D model, choose between a single-color and a color-matched build, then load the result as a guide in Minecraft.
The short version
- Start with a clear photo showing your pet’s whole body, including ears, paws and tail. Add other angles if you have them.
- Make a GLB model from the photo. An untextured model gives you the shape; a textured model gives the block matcher coat colors to work with.
- Drop the GLB into SupaVoxel’s Minecraft 3D model converter, set a build height and block palette, then download the
.litematicstatue guide. - Load that file with Litematica in Minecraft: Java Edition. It appears as a see-through placement you can build over, not a finished statue placed in your world.
Start with a photo that reads as a shape
A photograph contains more information than a block statue can keep. Fine fur, whiskers and small changes in eye shape disappear first. The features I would protect are the silhouette: upright or folded ears, the length of the muzzle, a distinctive tail, and the overall pose. Those are visible even when the statue is viewed from a distance.
Choose a photo with one pet in frame, preferably at the animal’s eye level in soft light. Make sure nothing cuts off the paws or tail. A curled-up pet may be an appealing photograph, but its legs and body can merge into a shape that is hard to read as blocks. A standing or sitting pose usually gives the model clearer boundaries.
If you have other views, use them to check what the main photo hides. SupaVoxel’s pet figurine guide covers making a model from one main photo and up to 4 extra angles, particularly useful when a pet has a distinctive back or tail. Its print advice is for physical figurines; for this project, I’m interested in getting a recognizable GLB before converting it to Minecraft blocks.
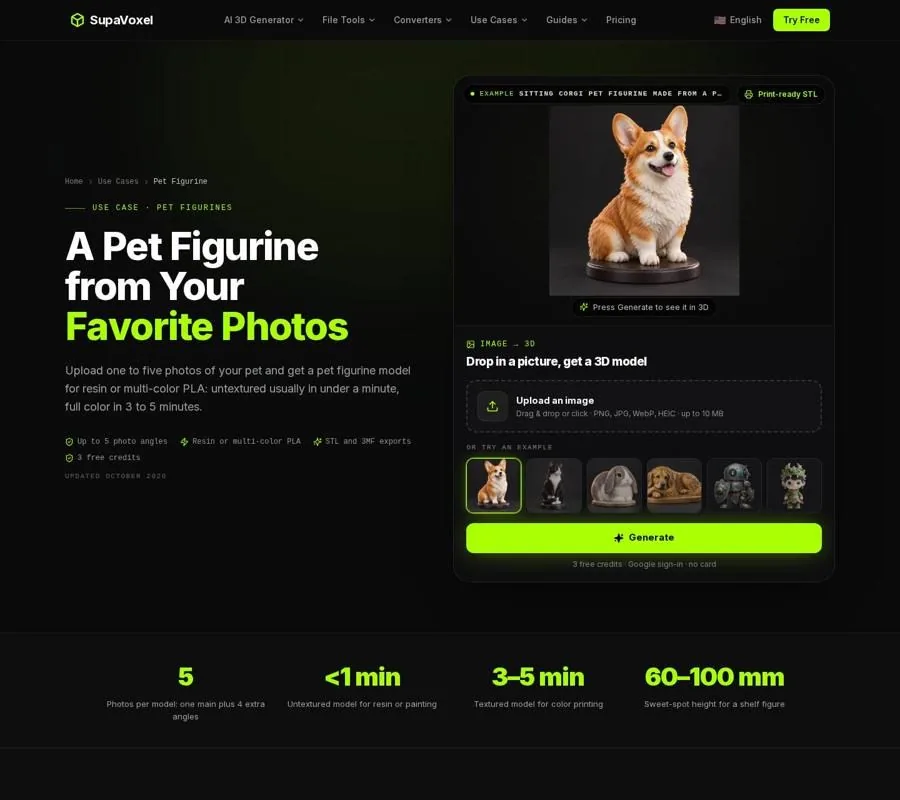
The pet figurine page shows the photo-to-model starting point; the Minecraft statue needs the resulting 3D shape.
Step 1: Make the 3D model
The statue converter needs a model, not the photo itself. Upload the chosen picture to SupaVoxel’s image-to-3D workflow, generate the model, and download it as GLB. New accounts get 3 free credits at sign-up. An untextured generation costs 1 credit and is usually ready in under a minute; a textured generation costs 3 credits and requires a paid plan.
Before converting anything, rotate the model and compare it with your photos. I would check the ears from the front, the muzzle in profile, and the tail from behind. If a defining feature is missing from the model, increasing the Minecraft build height will not bring it back. Try a clearer main photo or an additional angle instead.
Do not worry if individual hairs are absent. The model turns fur into a sculpted surface rather than separate strands, and a block statue simplifies that surface further. What matters now is whether someone who knows the pet could identify its pose and outline without relying on its coat color.
Step 2: Decide how much color matters
This choice affects the statue more than a small change in height.
An untextured model carries the pet’s shape but not its coat markings. The converter has no surface colors to match, so the statue comes out in a single gray block color. That can still work for a pet with unmistakable ears, a curled tail or a characteristic sitting pose. Think of it as a block sculpture rather than a portrait in fur colors.
A textured model gives the converter color areas to sample. It can then choose blocks for dark ears, a pale chest or contrasting patches. Texture does not turn Minecraft blocks into fur: each block is selected by the average color of the model’s surface in that area. Small markings may merge or vanish, while broad patches have a better chance of surviving.
I would pick untextured for a quick silhouette test. If the pet’s identity depends on markings—such as a dark face against a light body—I would choose textured before committing to a color-matched build. Textured generation typically takes 3 to 5 minutes and needs a paid plan. The free GLB download is useful for the shape test, but free untextured generation will not produce a multicolored statue.
Step 3: Convert the GLB into blocks
Drop the GLB onto the statue converter. It also accepts other 3D model files, including OBJ, FBX, STL and 3MF, up to 200 MB. GLB is the straightforward choice here because it is the download from the photo-to-model step and, when textured, gives the converter colors to match.
Set Build height before clicking Build schematic. The available range is 16 to 128 blocks, with 64 as the default. Height determines how much room the shape has to describe features: at a small height, a tapered muzzle may become blunt and an ear may blend into the head. Raising the height can help thin features connect, but it also makes the project larger.
For a first comparison, I would try 48 and 64 blocks and inspect both previews. Look at the outline from several directions rather than judging only the face. Can you still distinguish the ears? Does the tail remain connected? Are the pet’s largest color areas in the right places? The conversion uses full blocks in their default states, so do not expect stairs or slabs to smooth a curve.
Choose a Block palette as part of that comparison. Building is the default and uses solid blocks that do not fall. Simple offers fewer block types; All offers more color choices but can select gravity-affected blocks. For a portrait, extra colors are tempting, but they are not a substitute for a good source model. Once the preview looks right, click Download .litematic.
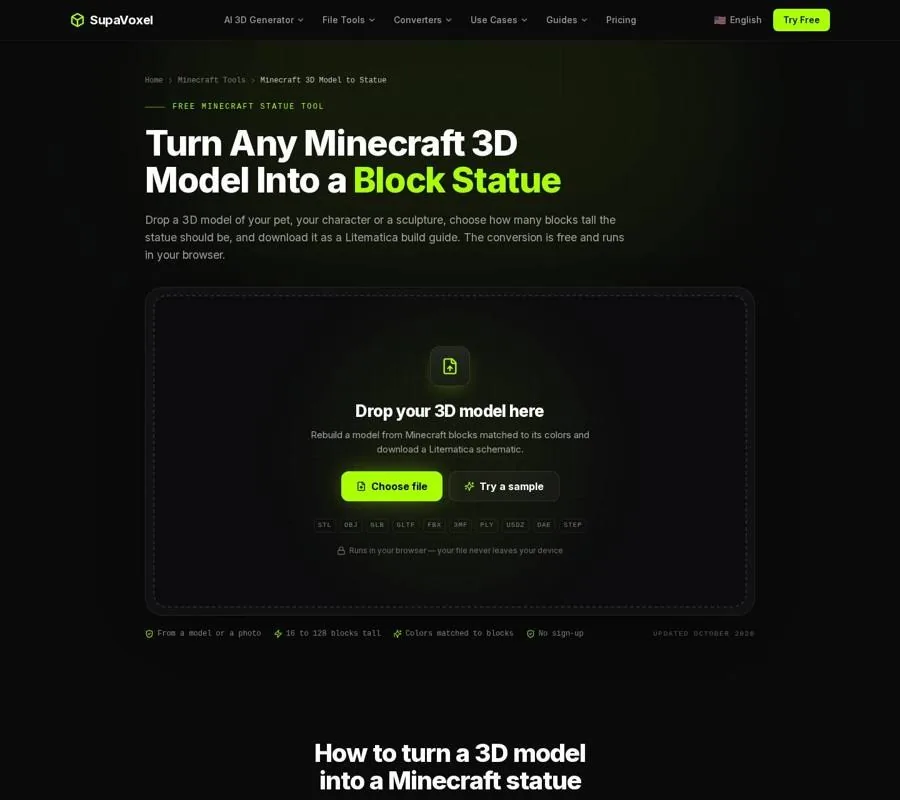
The statue page shows where a 3D model becomes a block-based build guide.
Step 4: Load the statue as a build guide
A .litematic file is for Litematica, a mod for Minecraft: Java Edition. It records blocks and their positions so you can see the statue as a translucent placement in your world. It is not a Bedrock file, and downloading it does not place the build automatically.
If this is your first schematic, SupaVoxel’s Minecraft schematic maker guide has the Litematica installation and loading steps. Install Fabric, Litematica and its required MaLiLib library for the same Minecraft version. Copy the downloaded file into .minecraft/schematics/, then press M in game and open Load Schematics to select it.
Move or rotate the placement before building. For a pet portrait, orientation matters: put the face where you will normally approach the statue, and check that the tail and other distinctive features are visible from that direction. Walk around the ghost placement once more. A statue that looked convincing in the converter’s preview may read differently against the terrain in your world.
The converter displays the grid and block count before download, and Litematica can show the required materials. For this project, use those readouts to decide whether the chosen height is practical, but let recognizability drive the first conversion. Supply planning and building the hollow interior deserve their own pass once the shape is settled.
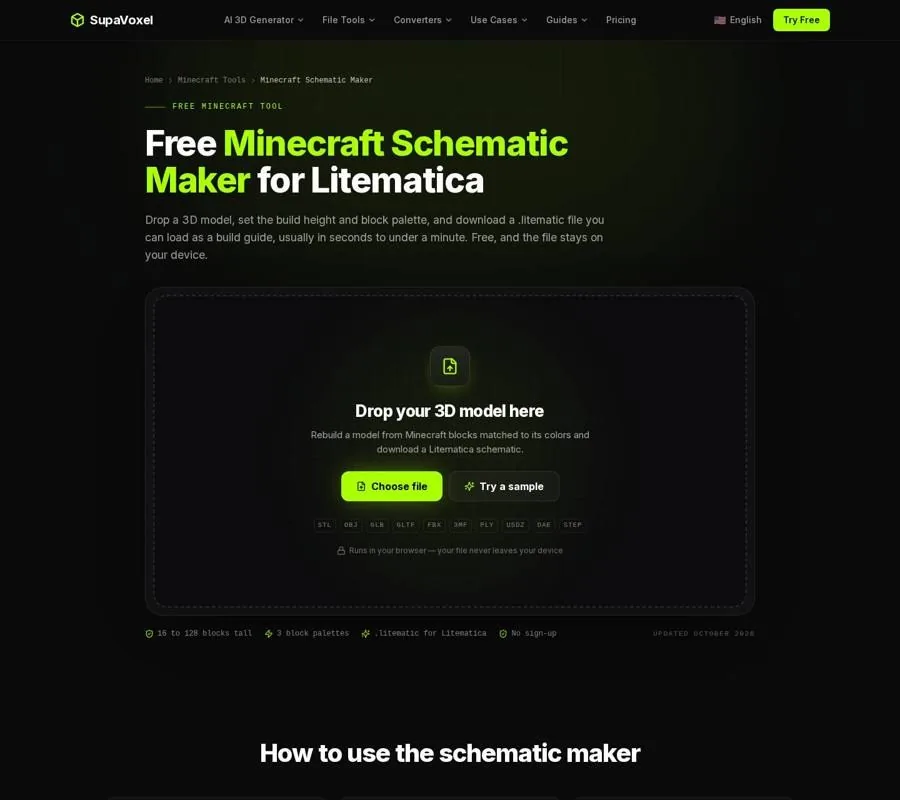
The schematic maker page explains how to take a downloaded .litematic into Java Edition.
Check the result against the original photo
I keep the photo nearby for a final comparison. I am not looking for photographic accuracy; I am looking for the features that made me choose that image. If the outline is wrong, I go back to the photo or model. If a thin tail disappears, I try a taller conversion. If the shape works but the coat pattern does not, I check whether the GLB was textured before changing palettes.
Keep the .litematic for Minecraft. If your real goal is a pet prop for a game instead of a block build, that is a different output path: the Roblox model maker guide covers bringing a GLB into Roblox Studio and reducing its triangle count for a MeshPart. A schematic is a block placement guide, not a game-ready mesh.
FAQ
Can I make a colored statue from an untextured pet model?
No. An untextured model supplies shape but no coat colors, so the blocks match a single gray color. Use a textured GLB if markings are important to the likeness.
Will a taller statue fix a bad photo?
It can give thin features more room to appear, but it cannot restore ears, paws or a tail that the photo or generated model failed to capture. Check the 3D model first.
Can I use the .litematic file in Bedrock Edition?
Not directly. The file is made for Litematica on Minecraft: Java Edition. You can use the preview as a visual reference for a manual build, but Bedrock cannot load the file as a Litematica placement.
Want to try it yourself?
Try Supavoxel →