Png to STL: Anycubic Kobra 3 vs Photon for Photo Models
This png to stl guide compares Anycubic Kobra 3 and Photon for photo-based models and explains how to pick the printer, export, and slicer route.
If png to stl brings you here, this comparison shows how the same photo leads to different resin or filament workflows with the Anycubic Photon and Kobra 3, so you can choose the export and slicer route that matches the finished model.
The same photo can lead to a detailed resin figure or a colorful filament print, but the best file and slicer workflow differ. I’d choose the printer by the features the finished object needs, then prepare the model for that process rather than treating the exports as interchangeable.
The short version
- Choose a Photon for small sculpted details. Generate geometry only, use an STL, and plan to orient and support the model for resin.
- Choose a Kobra 3 with ACE Pro when filament color is part of the design. Generate a textured model, try the four-color 3MF, and verify its color mapping in Anycubic Slicer Next.
- Start with one clear subject at a three-quarter angle. Neither printer can recover a convincing back or a sturdy thin feature from information the photo never supplied.
- SupaVoxel’s Anycubic 3D models guide lays out the photo-to-model path and the separate Photon and Kobra slicer routes.
Decide what the finished object must show
I start by asking what would be lost if I printed the subject in one color. If the answer is “not much,” a Photon is usually the more direct choice for a small figure. Resin can show sculpted folds, faces, and other fine geometry; color can come later from paint. An untextured model is sufficient because a single-resin print does not use the photo’s texture.
If the subject depends on broad, distinct color areas, the Kobra 3 Combo offers a different result. With one ACE Pro it handles four filament colors. That suits a chunky decorative piece whose color blocks matter more than its tiniest surface marks. It does not mean every shade in the photo will become a separate filament: the color export reduces the texture to a limited palette.
The printer is only one limit. The Photon Mono M7 Pro has an XY pixel size of 16.8 × 24.8 μm, but a finely resolved screen cannot reveal detail missing from the generated mesh. The Kobra 3 Combo’s standard nozzle is 0.4 mm; features thinner than about two extrusion widths may disappear. SupaVoxel’s Anycubic guidance suggests photo subjects with features at least 0.3 mm thick for resin or 1 mm for FDM. When in doubt, make fragile shapes more substantial before generating the model.
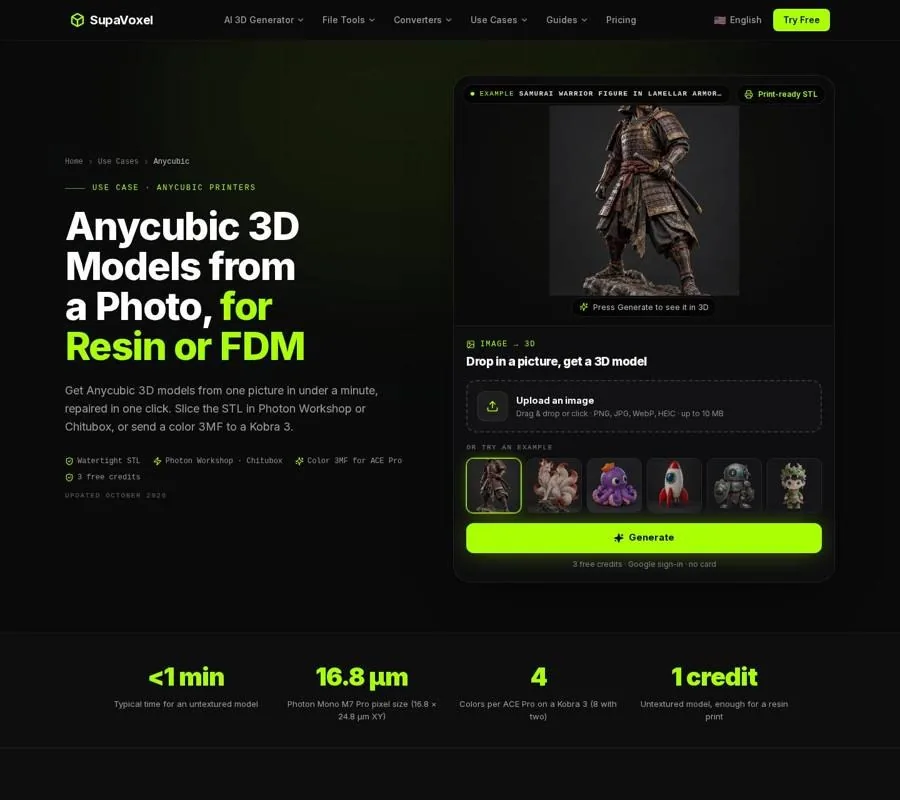
The Anycubic page covers both destinations: an STL for Photon resin printing and a color 3MF to try with a Kobra 3 and ACE Pro.
Prepare the photo before choosing an export
Both routes begin with the same problem: a photo shows only part of an object. The model generator must infer its hidden sides. A sharp three-quarter view with one subject and soft light gives it more shape information than a flat front view or a crowded scene. I would check the back and underside of the generated model before deciding that either printer is ready for it.
A useful comparison workflow is:
- Choose the silhouette. Make sure hands, props, legs, and other important forms are visible rather than merged into the torso. A recognizable silhouette helps at both resin and FDM scales.
- Generate for the intended print. Geometry only costs 1 credit and is enough for a Photon print. The textured model for a Kobra color print costs 3 credits and requires a paid plan.
- Inspect before exporting. Rotate the model and look for guessed geometry, thin attachments, and awkward contact points. If you have other views, the Anycubic workflow accepts up to 4 extra angles with the main picture.
- Choose the file for the slicer. Use STL for a Photon or single-color FDM print. For an ACE Pro color attempt, use the four-color 3MF and check it after import.
New accounts get 3 free credits at sign-up, but the free-plan download is GLB. Direct STL and 3MF exports are on paid plans starting at $25 a year. In-studio print-prep features for generated models, including repair, are included in every paid plan from $25 a year. Keep that distinction in mind when comparing the cost of the two routes: generating a model and downloading a particular print file are separate decisions.
Photon: spend your effort on the physical print
For a Photon, texture adds little to a print made in one resin color. I would put the effort into the mesh and its orientation instead. A watertight solid matters because hollowing and slicing depend on a closed shape; a hole or non-manifold junction can leave the slicer unsure which regions are inside the model. Repair the generated mesh before taking the STL into Photon Workshop or Chitubox.
Resin preparation then becomes a question of forces and visible surfaces. Scale the figure before adding supports, since supports do not rescale well after placement. Tilt broad faces rather than laying them parallel to the screen, and place support marks on less prominent areas. Downward-pointing hands, tips, and projections need deliberate support; a fine-looking model on screen can still lose those parts during printing.
Large solid pieces call for another decision. Hollowing anything larger than a fist with walls around 1.8–2 mm reduces resin use and suction, but a hollow model needs at least two drain holes over 2 mm wide, including one near the lowest point. Without an exit for resin, hollowing creates a new problem rather than solving one. After printing, resin parts need washing, support removal, and curing. This route involves more print preparation and finishing, but it is the one I would favor when a small figure’s sculpted detail is the point.
Kobra 3: treat color mapping as a test
On the Kobra 3, the textured model has a purpose: its colors can be assigned to filament in a 3MF. One ACE Pro supplies four colors; two can supply up to eight. For a single ACE Pro, choose the four-color export rather than expecting the printer to reproduce every shade in the source image.
Open that 3MF in Anycubic Slicer Next and inspect the mapping before slicing. SupaVoxel’s color export stores filament assignments per triangle in a paint format read by Bambu Studio and OrcaSlicer. Anycubic Slicer Next is built on OrcaSlicer, which makes the export worth trying there, but the colors still need checking. If they do not load as intended—or the automatic boundaries put a color in the wrong place—export an STL and paint the regions in the slicer instead.
Geometry remains important even when color is the attraction. A narrow strap or delicate finger cannot be saved by a good palette if it is too thin for the nozzle. I would favor bold shapes and readable color regions, inspect supports and overhangs in the slicer, and expect to remove supports after printing. Compared with the Photon route, there is no resin wash and cure stage; compared with a plain STL print, there is an extra color-mapping decision that deserves a careful preview.
When another resin workflow is useful
Choosing Photon over Kobra does not mean every resin slicer works the same way. If the printer on your bench is a Saturn or Mars, SupaVoxel’s Elegoo 3D models guide applies the same geometry-only idea to Chitubox and SatelLite. That is useful when the real decision is resin versus FDM but the resin machine is not an Anycubic.
The underlying print questions remain familiar: scale first, orient detail away from support marks, decide if the part needs hollowing, and support downward features. The Elegoo guidance gives 0.05 mm as an everyday figure layer height and 0.03 mm for small faces. Those are starting points, not a reason to skip calibration for the resin in use.
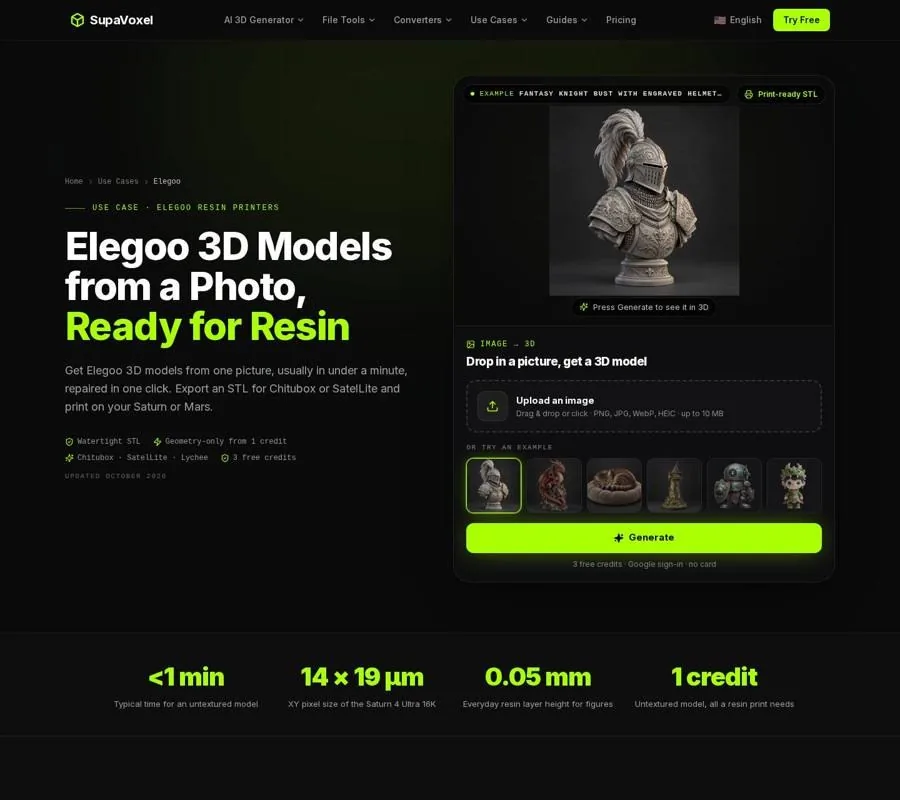
The Elegoo page shows the related resin path for Saturn and Mars printers, including STL preparation for their slicers.
A tabletop figure changes the priority
A small character makes the comparison less about color and more about what will remain visible and intact at scale. For infantry-sized figures, I would lean toward resin for the face, hands, and sculpted equipment; I would consider FDM for larger terrain or objective markers. If the character starts as original grimdark art, the custom Warhammer miniatures guide focuses on scaling, basing, and printing that kind of design.
That guide’s warning about thin weapons applies to any photo-based figure. At 32 mm scale, a barrel can be under 1 mm thick. Draw it chunkier, keep it clear of the body in the source image, and inspect the generated part before printing. The Photon’s finer detail is valuable only if the geometry is present and the protruding part survives supports and handling.
FAQ
Do I need a textured model for a Photon?
No. A Photon prints in one resin color, so geometry only is enough. Use the STL for the resin slicer and spend your preparation time on orientation, supports, and any necessary hollowing.
Will the Kobra 3 print every color in my photo?
No. With one ACE Pro, plan for four filament colors. Try the four-color 3MF in Anycubic Slicer Next, inspect the assignments, and paint from an STL in the slicer if the imported mapping needs more control.
Which should I choose for a small character?
Choose a Photon when small sculpted features are the priority. Choose the Kobra 3 when the design reads through sturdy shapes and distinct filament colors. In either case, inspect the generated back, underside, and thin attachments before committing material.
Want to try it yourself?
Try Supavoxel →